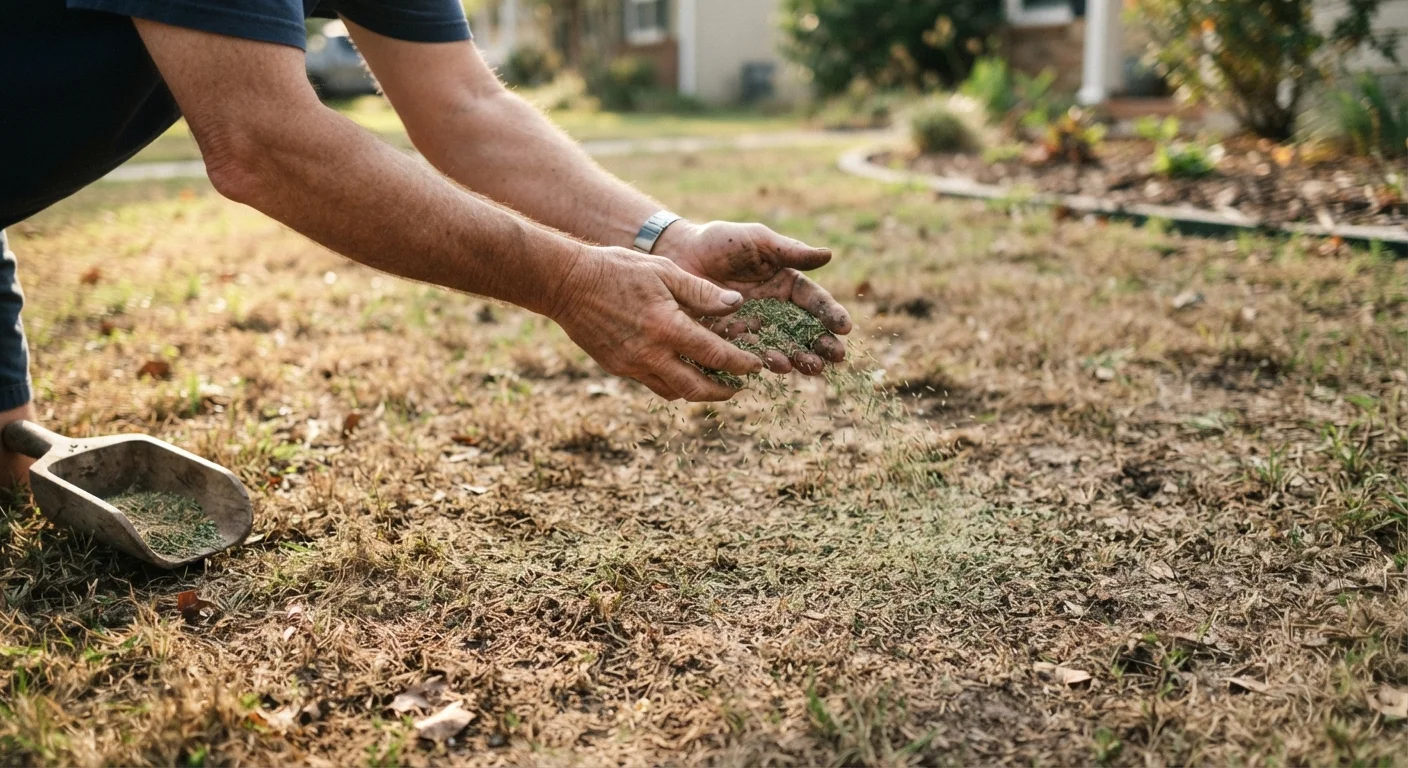
Why Overseeding Works — and When It Makes Sense
A patchy lawn is rarely a death sentence. Bare spots and thin turf are usually caused by compacted soil, heavy foot traffic, drought stress, shade, or a thatch buildup that prevents water and nutrients from reaching roots. Overseeding — spreading grass seed directly over existing turf — addresses these issues by introducing fresh, vigorous grass plants without the cost or labor of full sod installation.
Before reaching for a bag of seed, it helps to diagnose the cause of the patchiness. If the same spots repeatedly die back, an underlying issue like poor drainage, compaction, or a fungal disease may need correcting first. Overseeding a lawn that still has an unresolved problem will produce only temporary results. For a broader look at how common missteps delay recovery, see our guide to lawn care mistakes that can set grass back by seasons.
If the underlying conditions are sound, overseeding is one of the most cost-effective ways to thicken a lawn. It also works well as a preventive measure — seeding into healthy but thinning turf before bare patches appear reduces future weed pressure by denying open soil for weeds to colonize.
What you will need
Choosing the Right Seed and the Right Season
Matching seed to your lawn's existing grass type is essential. Introducing a visually different species — for example, a coarse tall fescue into a fine-bladed Kentucky bluegrass lawn — will result in a two-tone appearance that stands out year-round. Read your existing grass carefully: blade width, color, and growth habit are good clues. Your local cooperative extension office can help identify your turf type if you're unsure.
Timing is equally critical and depends on your grass category:
- Cool-season grasses (Kentucky bluegrass, fescues, ryegrass) germinate best when soil temperatures are between 50°F and 65°F — typically early fall in most of the northern US. Soil is still warm from summer, but air temperatures are cooling, reducing heat stress on seedlings.
- Warm-season grasses (Bermuda, zoysia, centipede) establish best in late spring to early summer when soil temperatures consistently exceed 65°F.
Avoid overseeding immediately before or after extreme weather — a hard freeze or prolonged drought will kill seedlings before they establish. For a full seasonal context, our complete seasonal lawn and garden guide covers timing considerations across the year.
Tools and Materials You'll Need
Successful overseeding doesn't require specialized equipment, but a few tools make the job significantly more effective.
Dethatching rake or power dethatcher
Removes the layer of dead organic matter (thatch) between grass blades and soil so seed can reach the soil surface.
Core aerator (manual or rental)
Pulls small plugs of soil to reduce compaction and create small openings where seed can lodge and germinate.
Broadcast or drop spreader
Distributes grass seed evenly across the lawn at the correct application rate.
Leaf rake
Lightly works seed into the soil surface after spreading to improve seed-to-soil contact.
Starter fertilizer
Provides phosphorus and nitrogen to support root development in newly germinating seedlings.
Garden hose with adjustable nozzle or oscillating sprinkler
Delivers gentle, consistent moisture during germination without washing seed away.
Step-by-Step Overseeding Process
Follow these steps in sequence for the best results. Skipping soil preparation is the single most common reason overseeding underperforms — seed lying on top of thatch rarely germinates well.
Mow the existing lawn short
Mow your lawn to about 1.5 to 2 inches — slightly shorter than your normal mowing height. This reduces canopy competition so sunlight can reach new seedlings and makes it easier for seed to fall through to the soil. Bag or collect the clippings so they don't smother new growth.
Dethatch the lawn
Use a dethatching rake or a power dethatcher to remove the layer of compacted dead grass and organic debris (thatch) sitting between the soil and the grass blades. A thatch layer thicker than about half an inch prevents seed from reaching soil. Rake out the loosened material and remove it from the area.
Aerate compacted areas
If your soil is compacted — especially in high-traffic areas — core aerate before seeding. A core aerator removes small plugs of soil, opening channels for water, air, and seed to penetrate. You can rent a walk-behind core aerator from most tool rental locations. Leave the soil plugs on the surface; they break down naturally and return organic matter to the lawn.
Spread grass seed at the recommended rate
Set your broadcast or drop spreader to the overseeding rate listed on the seed packaging — this is typically lower than the rate used for bare-soil seeding. Apply the seed in two passes at right angles to each other (north–south then east–west) for the most even coverage. Pay extra attention to bare patches, going slightly heavier in those areas.
Rake lightly to improve seed contact
After spreading, use a leaf rake to gently work the seed into the soil surface. You're not burying the seed — grass seed germinates best when in direct contact with soil and exposed to light. A light pass is enough to nestle seed into the existing turf and any aeration holes.
Apply starter fertilizer (optional but recommended)
If you choose to fertilize, apply a starter fertilizer formulated for new grass at this stage. Starter fertilizers are higher in phosphorus, which supports root development in seedlings. Follow the package rates carefully — more is not better with fertilizer, and overapplication can burn seedlings or contribute to runoff.
Water immediately and keep soil moist through germination
Water the seeded area immediately after finishing, using a gentle spray to avoid washing seed away. For the next two to three weeks, your goal is to keep the top quarter-inch of soil consistently moist — not waterlogged. Light, frequent watering (once or twice daily in warm or windy conditions) is better than heavy infrequent watering at this stage.
If you're weighing whether overseeding is even the right approach versus laying sod, our grass seed vs. sod comparison breaks down the trade-offs for each method.
Aftercare: Protecting Your Investment
The window between seeding and full establishment is fragile. New seedlings have shallow root systems and can't tolerate the same stresses that mature turf handles easily.
Watering: Keep the top quarter-inch of soil consistently moist until germination is visible — this typically means light watering once or twice daily for the first two weeks, depending on heat and wind. Once seedlings reach about an inch tall, shift to deeper, less frequent watering to encourage root growth. For more on how to water without overdoing it, see why healthy lawns don't need as much water as you think.
Mowing: Wait until new grass reaches at least 3 inches before the first mow, and never remove more than one-third of the blade height at a time. Mowing too early uproots fragile seedlings.
Foot traffic: Keep the area clear of heavy use for at least four weeks. Even gentle trampling during the germination window can damage emerging root systems.
Fertilizing: If you applied a starter fertilizer at seeding, hold off on additional applications until the lawn has been mowed two to three times. Follow product label guidance for any subsequent applications.
Mark Your Calendar for a Follow-Up Assessment
Most grass seed packages list an expected germination window — typically 7 to 21 days depending on species and conditions. Mark that window on your calendar and do a visual check. If germination looks sparse after the full expected window, a light reseeding of problem areas is often worthwhile before the favorable season window closes. Patience through the first mow is the hardest part for most homeowners, but it pays off in denser, more durable turf.