Start With a Diagnosis, Not a Purchase
One of the most common DIY mistakes is heading to the hardware store before fully understanding the problem. Buying the wrong materials — or fixing the symptom instead of the cause — adds time, cost, and frustration to any project.
Before touching a tool, spend a few minutes inspecting the issue carefully. Ask: What is actually failing, and why? A damp patch on a wall, for example, could stem from a leaky pipe, condensation, or a roof gap — each requiring a different repair approach entirely. Taking five minutes to trace the problem back to its source can save hours of rework.
If the root cause isn't clear, consult manufacturer documentation, reputable building resources, or a local building supply professional before committing to a fix. And if the problem involves electrical wiring, gas lines, structural elements, or anything that requires a permit, pause — those situations call for a licensed contractor. See our guide to repairs that require a professional for a clear breakdown of where that line sits.
Build Habits Around Your Tools
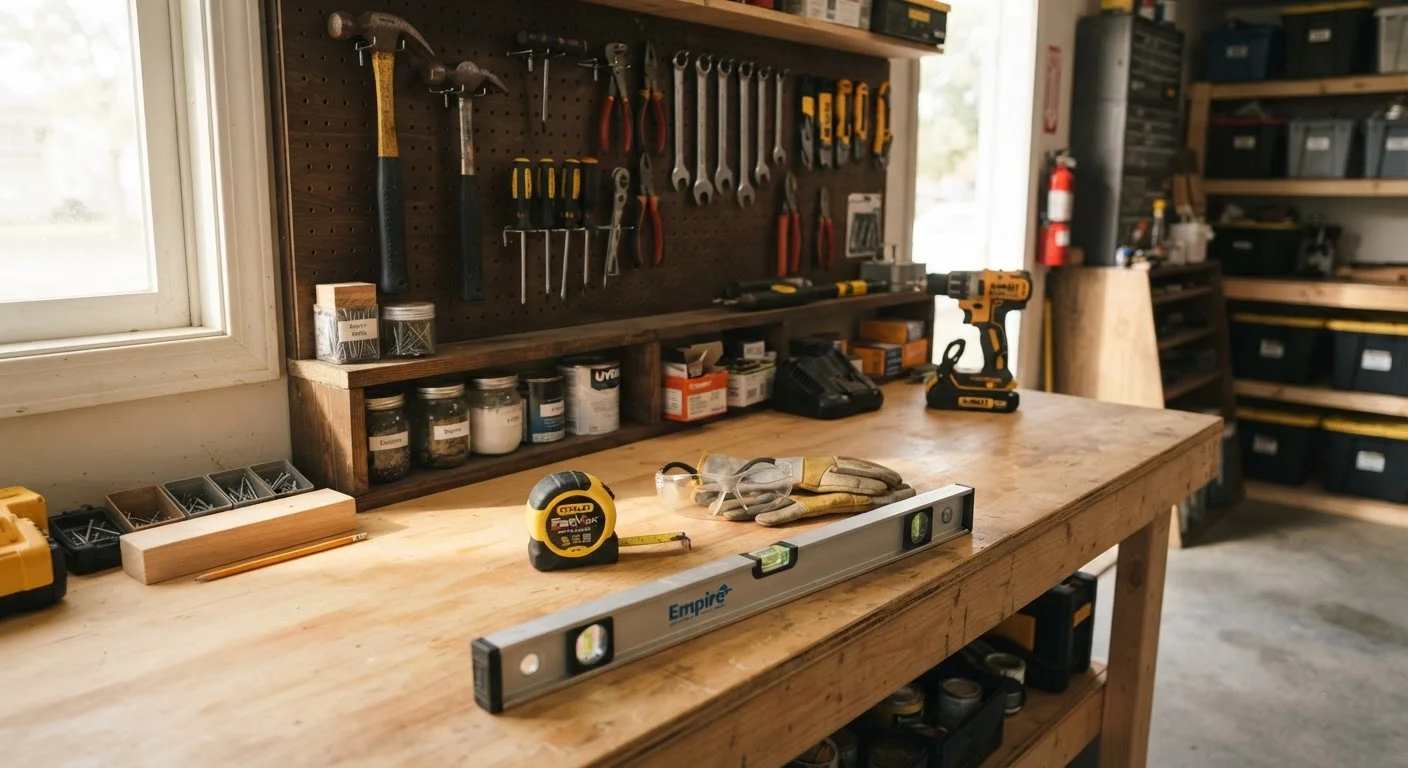
Experienced DIYers don't hunt for tools mid-project. They know exactly where everything is because they've built consistent habits around storage, cleaning, and restocking. This isn't about perfectionism — it's about eliminating friction that slows you down and breaks your focus.
A few practical habits make a real difference:
- Return every tool to the same place after each use. This becomes automatic quickly and eliminates the mid-project scramble.
- Clean tools before storing them. Dried adhesive, rust, and caked-on paint degrade performance and shorten tool life.
- Restock consumables — sandpaper, screws, tape — before they run out, not during a job when running out creates a full stop.
- Keep safety gear accessible and in good condition. Safety glasses with scratched lenses, worn gloves, or expired respirator cartridges don't protect you effectively.
If you're still building your toolkit, our DIY homeowner's toolkit guide covers the essentials that handle the widest range of common household repairs.
Diagnose the root cause before buying any materials or starting work.
Fixing the symptom rather than the source means the problem recurs, often worse. Accurate diagnosis prevents redundant trips to the store and ensures the right repair is made the first time.
Store and clean tools in a consistent, dedicated location after every use.
Disorganized tools add friction to every project and increase the chance of using a damaged or incorrect tool. A consistent storage habit eliminates searching time and keeps tools in working condition.
Always verify that utilities are safely off before beginning any repair near wiring or plumbing.
Assumptions about which breaker or shutoff is active are a leading cause of DIY injuries. Confirming the utility is de-energized or isolated before touching anything is a non-negotiable safety step.
Photograph the work area before closing walls, floors, or ceilings.
Hidden infrastructure becomes invisible once a repair is complete. Photos preserve the record of what's inside, reducing guesswork — and risk — for any future work in the same area.
Test fit or dry-run every component before applying adhesive, caulk, or fasteners.
Irreversible steps done before confirming fit or alignment create rework. A dry run exposes problems — gaps, misaligned holes, wrong dimensions — when they're still easy to correct.
Measure, Check, Then Act
The old carpenter's rule — measure twice, cut once — applies far beyond woodworking. In nearly every home repair context, pausing to verify before taking an irreversible step prevents the kind of mistake that requires starting over with new materials.
This habit extends to checking that utilities are de-energized before working near wiring, confirming that surfaces are dry before applying paint or adhesive, and verifying that a replacement part matches the original before removing the old one. A two-minute check at the right moment is almost always faster than fixing an avoidable error.
It's also worth acknowledging that some tasks that seem straightforward carry hidden complexity. A repair that goes fine in one home may be far more involved in another due to age, materials, or previous modifications. Staying honest about the scope of a job — and your current skill level — is itself a safety habit. Our article on DIY repair myths that can cost you more explores this in more depth.
Document as You Go
Most homeowners don't think to photograph a repair until something goes wrong later and they can't remember what was behind a wall, under a floor, or inside a junction box. Making documentation a routine part of every project — even small ones — pays dividends over the life of a home.
Before closing up a wall or covering a repair, take a few photos with your phone showing the state of things underneath: pipe locations, wire runs, blocking positions, and any existing damage you found. Store these in a dedicated folder labeled by room and date. Add a brief note about what product or technique you used.
This record helps you — and any future contractor or buyer — understand the home's history without guessing. For those who track home organization systematically, our home organization hub has additional strategies for keeping household records manageable and accessible.
The documentation habit also helps you improve your own skills. Reviewing what you did on a past project — and what you'd do differently — makes the next similar repair faster and more confident.