Assessing the Damage Before You Start
Before picking up a tool, take a moment to classify the damage. The right technique depends entirely on the size and cause of the problem.
- Hairline cracks — thin surface fractures, often caused by normal house settling or temperature cycling. Usually cosmetic.
- Small holes (up to 1 inch) — nail pops, screw holes, or minor dings. Quick to fill with spackle or joint compound.
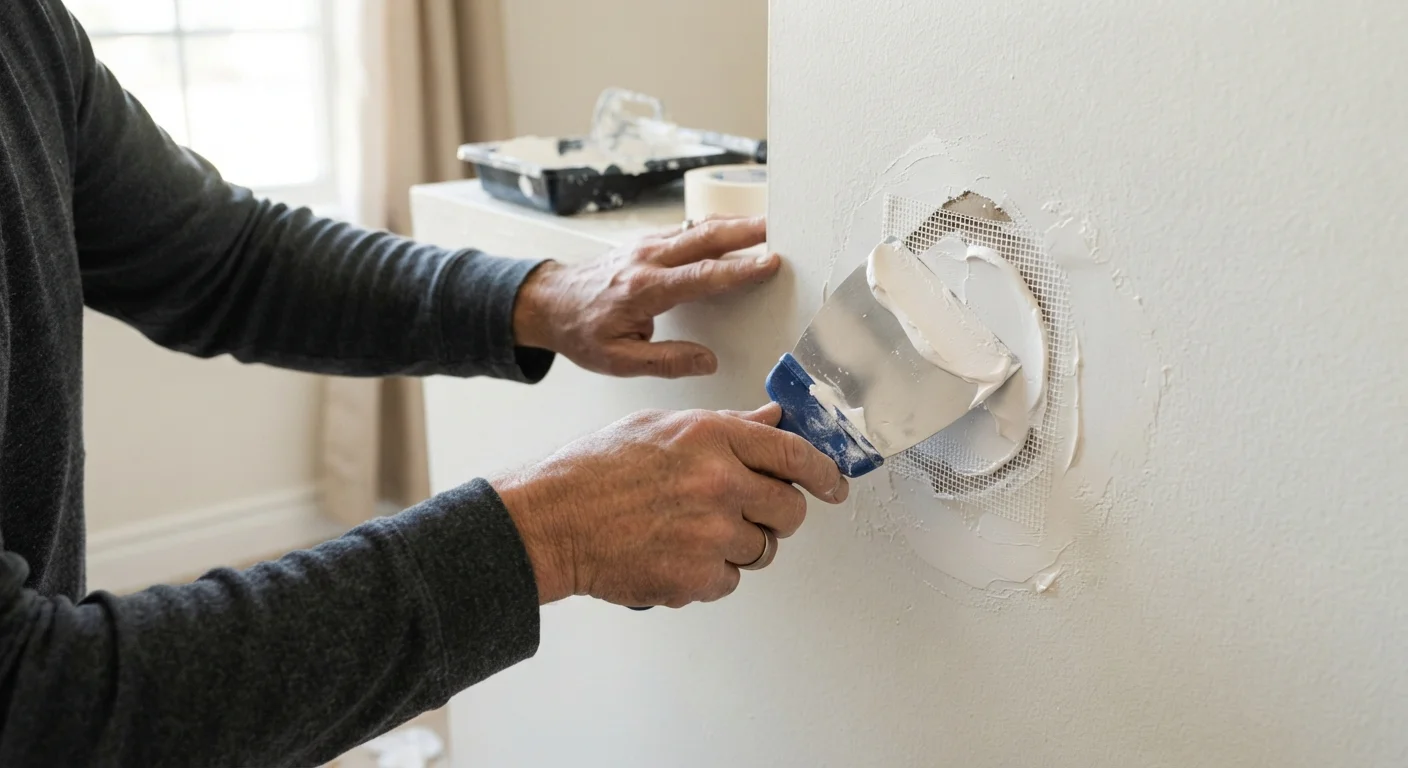
- Medium holes (1–4 inches) — doorknob strikes, anchors pulled free, or similar impacts. Require a self-adhesive mesh patch.
- Large holes (4–6 inches or more) — damage from plumbing access, accidents, or removals. Need a backing board and a cut drywall piece.
Also check whether the damage is near an electrical box, plumbing line, or load-bearing framing. If you're uncertain about what's behind the wall, learn when to call a professional before proceeding. For recurring cracks — especially diagonal ones running from window or door corners — it's worth consulting a contractor, as they can indicate foundation movement rather than simple settling.
What you will need
Tools and Materials You'll Need
Having everything assembled before you start prevents mid-job trips to the hardware store and keeps your work moving efficiently. Make sure your basic DIY toolkit is stocked with the essentials listed below.
Putty knife or drywall knife (4–6 inch)
Applies and smooths joint compound over cracks and patches.
Joint compound (all-purpose)
Fills and levels the repair area; sands smooth when dry.
Sandpaper (120- and 220-grit)
Smooths dried compound between coats and before priming.
Self-adhesive fiberglass mesh patch
Bridges medium holes (1–4 inches) and provides a surface for compound to grip.
Drywall saw or utility knife
Cuts a clean, square opening for larger hole repairs.
Furring strip or 1×3 wood backing board
Provides a solid anchor inside the wall for large patch pieces to screw into.
Drywall primer (PVA primer)
Seals the repaired area so paint absorbs evenly and prevents flashing.
Sanding block or sponge
Keeps sandpaper flat against the surface for an even finish, reducing the risk of gouging.
Step-by-Step: Repairing Any Size of Drywall Damage
Follow these steps in sequence. Steps 1–3 apply to all repair sizes; steps 4–5 apply specifically to medium and large holes. Adjust your approach as indicated within each step.
Clean and prepare the damaged area
Use a putty knife to scrape away any loose paper, crumbling edges, or debris around the damage. For hairline cracks, widen the crack slightly with the corner of your knife — this gives the compound something to grip rather than just sitting on the surface. Dust the area with a dry cloth or brush. If there's any grease or glossy paint around the repair, lightly sand it so the compound bonds properly.
Apply the first coat of joint compound
For hairline cracks and holes up to 1 inch, apply a thin layer of joint compound directly with a putty knife, pressing it firmly into the crack or void. For medium holes, center a self-adhesive mesh patch over the opening, press it flat, then apply compound over the mesh with your knife, working outward at least 2–3 inches beyond the patch edges. Feather the edges thin — this is the key to making the patch invisible once painted.
Sand, then apply additional coats
Let the first coat dry completely — this typically takes several hours, though humidity and coat thickness affect drying time. The compound will shift from dark to uniformly light as it dries. Once dry, sand lightly with 120-grit sandpaper to knock down any ridges, then wipe away dust with a damp cloth. Apply a second thin coat, feathering even wider than the first. Most repairs need two to three coats total. Finish-sand with 220-grit between the final coat and priming.
For large holes: install a backing board and cut patch
If the hole is larger than about 4 inches, a mesh patch alone won't provide enough support. Use a drywall saw or utility knife to cut the opening into a clean square or rectangle. Cut a 1×3 furring strip several inches longer than the opening's height. Slide it behind the wall so it spans the opening vertically, and drive drywall screws through the existing drywall on each side of the hole and into the strip — this holds it firmly in place. Cut a piece of drywall to fit the opening exactly, screw it into the furring strip, then tape the seams with paper drywall tape embedded in compound before applying your coats.
Prime and paint the repair
Once the final sanded coat is smooth and the surface shows no ridges or depressions, apply a coat of drywall primer to the repair area. Allow it to dry per the manufacturer's instructions before applying your finish paint. Match your paint sheen as closely as possible to the existing wall — mismatched sheens are often more visible than the original damage.
Finishing and Painting for a Seamless Look
The repair itself is only half the job — a visible patch is nearly as frustrating as the original hole. Once your final coat of compound is fully dry and sanded smooth, run your hand across the surface. You should feel no ridge or depression where the patch meets the surrounding wall.
Apply a coat of drywall primer (sometimes called a PVA primer) to the repaired area before painting. Unprimed compound absorbs paint differently than the surrounding wall surface, leaving a dull or flat spot even after two coats of color — a phenomenon called flashing. Priming eliminates this. After the primer dries, paint the patch to match the rest of the wall. In most cases, you'll want to paint the entire wall surface rather than just the patch to avoid color or sheen variation, especially in rooms with older or faded paint.
For a broader look at what separates a successful DIY repair from one that ends up costing more to fix, see common DIY repair myths that trip up even experienced homeowners.