Why Touch-Ups Often Look Worse Than the Damage
Most homeowners have experienced the frustrating result of a paint touch-up that creates a noticeable patch — often shinier, darker, or clearly outlined against the surrounding wall. The reasons aren't mysterious: paint changes character as it ages. The pigments fade, the sheen shifts, and the texture of the original dried film builds up over years of recoating. Slapping new paint onto an isolated spot ignores all of that history.
The three most common culprits are color mismatch, sheen difference, and edge definition. Even paint from the same can can look different once it dries on a spot that was poorly prepped or applied in a single heavy coat. Understanding these factors in advance is what separates a repair that's truly invisible from one that draws the eye every time you walk by.
If your wall damage goes deeper than a surface scuff, check our drywall repair guide before reaching for the paintbrush — substrate issues need to be resolved first.
What You'll Need Before You Start
Gathering the right materials before you begin saves you mid-project frustration and produces a better outcome. Here's what to have on hand:
220-grit sandpaper
Lightly scuffs and smooths the edges of the damaged area so new paint feathers in without a ridge.
Tack cloth or microfiber cloth
Removes sanding dust from the surface before painting so it doesn't contaminate the new coat.
Small foam roller (4-inch)
Applies paint with a texture that closely mimics a rolled wall finish, improving blend quality.
Small angled brush (2-inch)
Useful for tight spots, corners, or areas too small for a foam roller.
Primer (latex, water-based)
Seals exposed substrate like bare drywall or spackle so paint adheres and absorbs evenly.
Mild dish soap and clean cloths
Used to clean grease, dust, and residue from the wall before any paint is applied.
One note on paint: your best option is always leftover paint from the original job stored in a sealed, labeled container. If that's unavailable, take a paint chip or a small scraping from an inconspicuous area to a paint counter for color matching. Keep in mind that even a professional color match may require a small test patch before committing.
What you will need
Step-by-Step: Blending Touch-Up Paint Like a Pro
Follow these steps in order. Skipping prep steps — especially cleaning and sanding — is the most common reason touch-ups fail.
Clean the Damaged Area Thoroughly
Use a slightly damp cloth or sponge with a small amount of mild dish soap to gently wipe the area around the damage. Remove any grease, fingerprints, dust, or residue. Rinse with a clean damp cloth and allow the surface to dry completely before doing anything else.
Painting over dirt or grease causes adhesion problems — the new paint won't bond properly and will peel or look uneven within weeks.
Sand the Edges of the Damage Lightly
Use 220-grit sandpaper to lightly scuff the edges of the damaged area and any dried drips or raised texture around it. The goal is to smooth any lip between the existing paint film and the exposed substrate so your new paint transitions gradually rather than sitting on top of a ridge.
Wipe away all sanding dust with a tack cloth or a dry microfiber cloth before moving on.
Apply Primer if the Substrate Is Exposed
If sanding or the original damage has exposed bare drywall, bare wood, or spackle, apply a thin coat of primer to that area only. Allow it to dry fully per the primer's label instructions before painting.
Skipping primer on bare spots causes the new paint to absorb unevenly, resulting in a dull or flat patch even with a matched color.
Test Your Paint Color Before Committing
Stir your touch-up paint thoroughly, then apply a small dab to an inconspicuous part of the wall — inside a closet or behind a door — and let it dry completely. Wet paint always looks darker than dry paint. Compare the dried test patch to the surrounding wall in natural daylight before proceeding.
Apply Touch-Up Paint Using a Feathering Technique
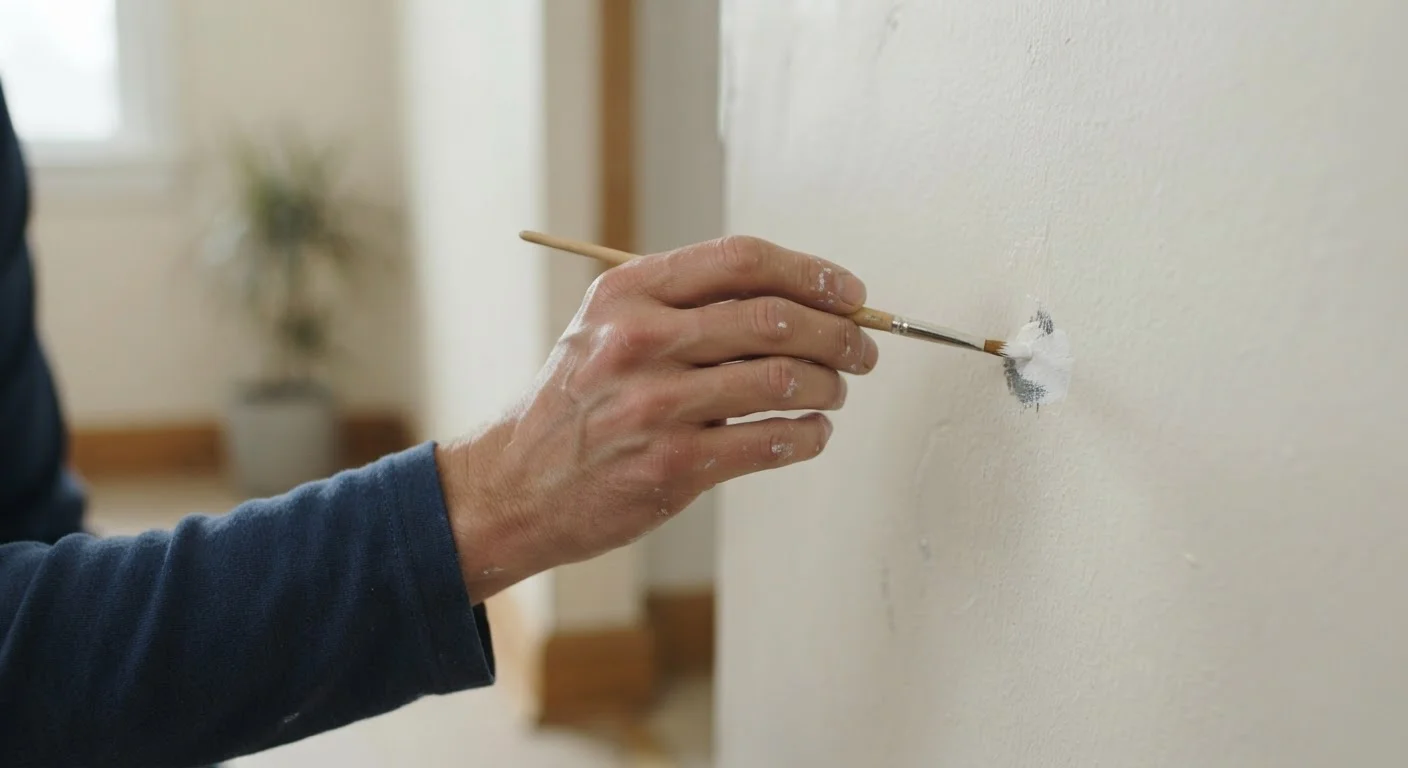
Load a small brush or foam roller with a thin coat of paint — less is more at this stage. Apply paint directly over the repair area, then immediately use light, outward strokes to feather (blend) the paint into the surrounding dry wall surface, extending several inches beyond the damage in all directions.
Apply two thin coats rather than one heavy coat, allowing each to dry fully. Thin coats build color gradually and are far less likely to create a visible edge or thick patch.
Evaluating the Result and Knowing When to Repaint the Whole Wall
Once your final coat has dried completely (allow at least two hours for latex paint, or follow manufacturer guidance), evaluate the result under natural daylight, not just artificial lighting. Stand at multiple angles, including a low raking angle, which catches any sheen differences the naked eye misses straight-on.
A well-executed touch-up should be essentially invisible under normal viewing conditions. If you can still see a defined edge or the repaired area looks noticeably different in sheen or tone, consider one of two escalation options:
- Paint the full wall panel — from corner to corner — to reset the surface uniformly. This is the most reliable solution for older walls or high-traffic areas with multiple spots.
- Blend a wider area — feather the paint out further than you originally did, covering a radius of 12–18 inches around the original spot, to soften any remaining edge.
In rooms with flat or matte paint, isolated touch-ups tend to blend most successfully. Semi-gloss and high-gloss finishes on flat wall surfaces are the hardest to touch up invisibly; a full wall repaint is often the more practical choice in those situations.