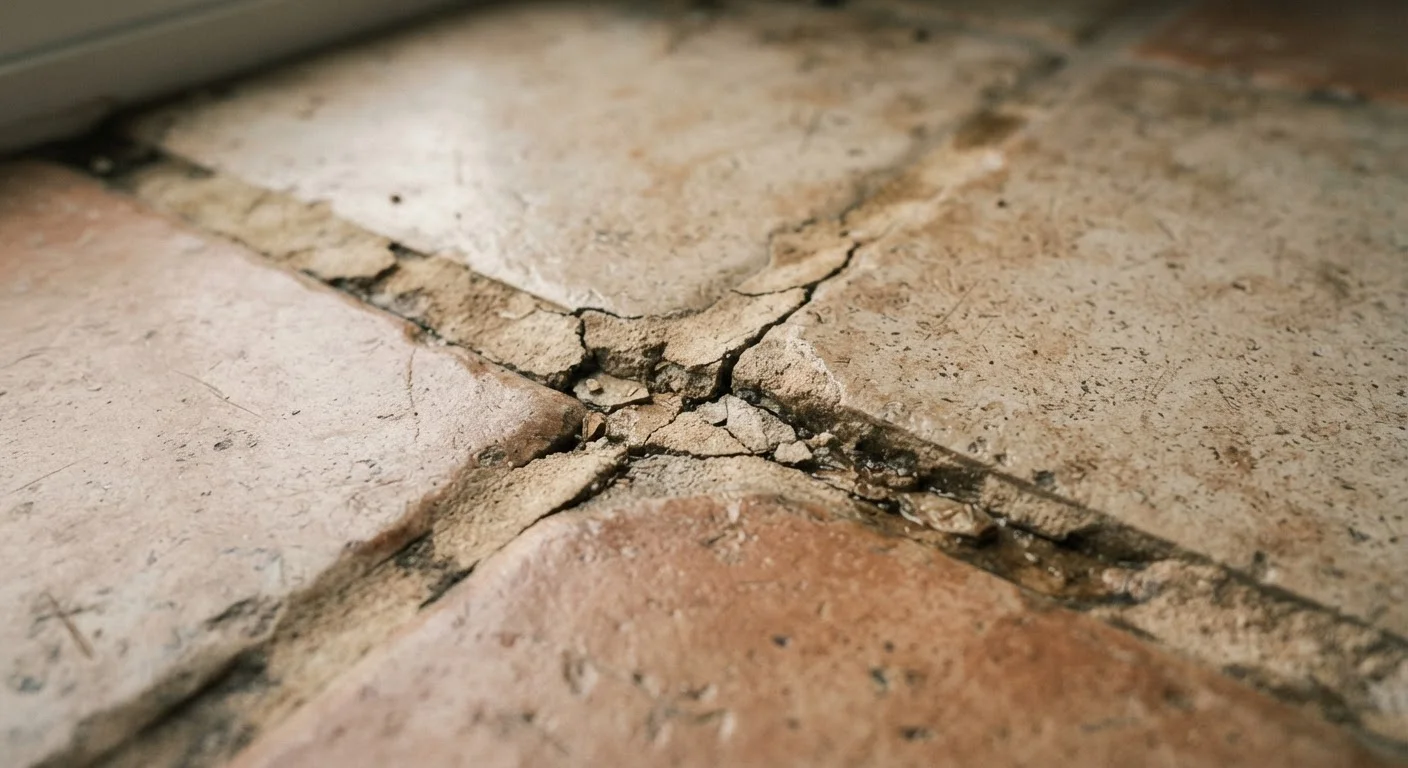
Why Grout Cracks Keep Coming Back
If you've patched cracked grout only to watch new cracks reappear within months, you're not dealing with a cosmetic problem — you're dealing with an unresolved structural one. Grout is a rigid material with very little flex. That's fine when everything beneath it is equally stable, but the moment a floor deflects, a subfloor shifts, or tiles move independently of each other, grout is the first thing to show it.
Understanding why grout cracks in the first place is the critical first step. The mistakes below are the most common reasons homeowners end up in a cycle of repeated repairs — and knowing how to avoid them will save you significant time and money.
Regrouting over cracked grout without removing the old material first.
Why it happens: It seems faster to press new grout over existing cracks, but the damaged grout underneath has lost its bond and continues to move independently of the tile.
Failing to identify and fix a flexible or inadequate subfloor before tiling.
Why it happens: Subfloor deflection is invisible until tile is installed. Homeowners often assume the floor feels solid enough, not realizing that tile installations require far less flex tolerance than carpet or hardwood floors.
Using the wrong type of grout for the joint width or tile type.
Why it happens: Many homeowners grab whatever grout is available without checking whether it's sanded or unsanded, or whether it's appropriate for natural stone, large-format tiles, or wet areas.
Omitting movement joints (also called soft joints or expansion joints) in large tiled areas.
Why it happens: Expansion joints interrupt the visual continuity of a tile floor, so many installers and homeowners skip them — especially in residential settings where they assume the area is small enough to go without.
Mixing grout with too much water to make it easier to spread.
Why it happens: Dry, stiff grout is harder to work with, so it's tempting to add extra water for a smoother consistency. This is sometimes called "wet gauging" and it's one of the most common grout mistakes.
When to DIY and When to Call a Professional
Many grout repairs are genuinely manageable for a confident homeowner with basic tools — a grout saw or oscillating tool, unsanded or sanded grout appropriate to the joint width, and good surface prep. If the cracking is isolated to one or two grout lines, the tile beneath is solid, and the subfloor doesn't flex underfoot, regrouting is a reasonable weekend project.
However, if you notice any of the following, it's worth consulting a licensed tile installer or a structural contractor before picking up the grout float:
- Multiple tiles are cracked, not just the grout between them
- The floor bounces or feels soft when you walk across it
- Grout cracks follow a consistent pattern across a large area
- The affected area is near a load-bearing wall, door frame, or in a room addition
Cracked Tiles Alongside Cracked Grout
If you're seeing cracks in the tile body itself — not just the grout lines — this is a stronger signal of subfloor movement or an installation problem that regrouting alone will not fix. Cracked tiles in a diagonal or stair-step pattern across a room can sometimes indicate settling in the home's foundation. In that case, consult a structural engineer before undertaking any tile repair.
When in doubt, a professional assessment costs far less than a full tile removal and reinstallation. Always verify whether your local building codes require a permit for subfloor repairs, especially if the work involves structural framing.
Grouting Right the First Time
Whether you're regrouting a section or starting fresh after a tile replacement, the finishing steps matter as much as the prep. Mix grout to the consistency of peanut butter — not runny, not stiff. Work in small sections to prevent the grout from drying before you can tool the joints. Hold the float at a 45-degree angle and pack grout firmly into joints, then remove excess diagonally across the lines.
Allow the grout to reach its initial set — usually 15 to 30 minutes depending on product and temperature — before wiping with a damp sponge. Wring the sponge thoroughly; excess water weakens grout and causes shrinkage cracks. Once cured (typically 24–72 hours for most products, though always check the manufacturer's guidance), apply a penetrating grout sealer to protect against moisture and staining.
L/360
Maximum allowable subfloor deflection for tile
The Tile Council of North America sets L/360 as the deflection standard — stricter than many other flooring types require.
20–25 ft
Recommended spacing for movement joints in tile fields
TCNA guidelines recommend soft expansion joints every 20–25 feet in large tiled areas to accommodate structural movement.
Finally, resist the urge to use the tiled area too soon. Foot traffic on uncured grout compresses and displaces it before it hardens, which — as you now know — is exactly the kind of stress that leads to cracking down the road.