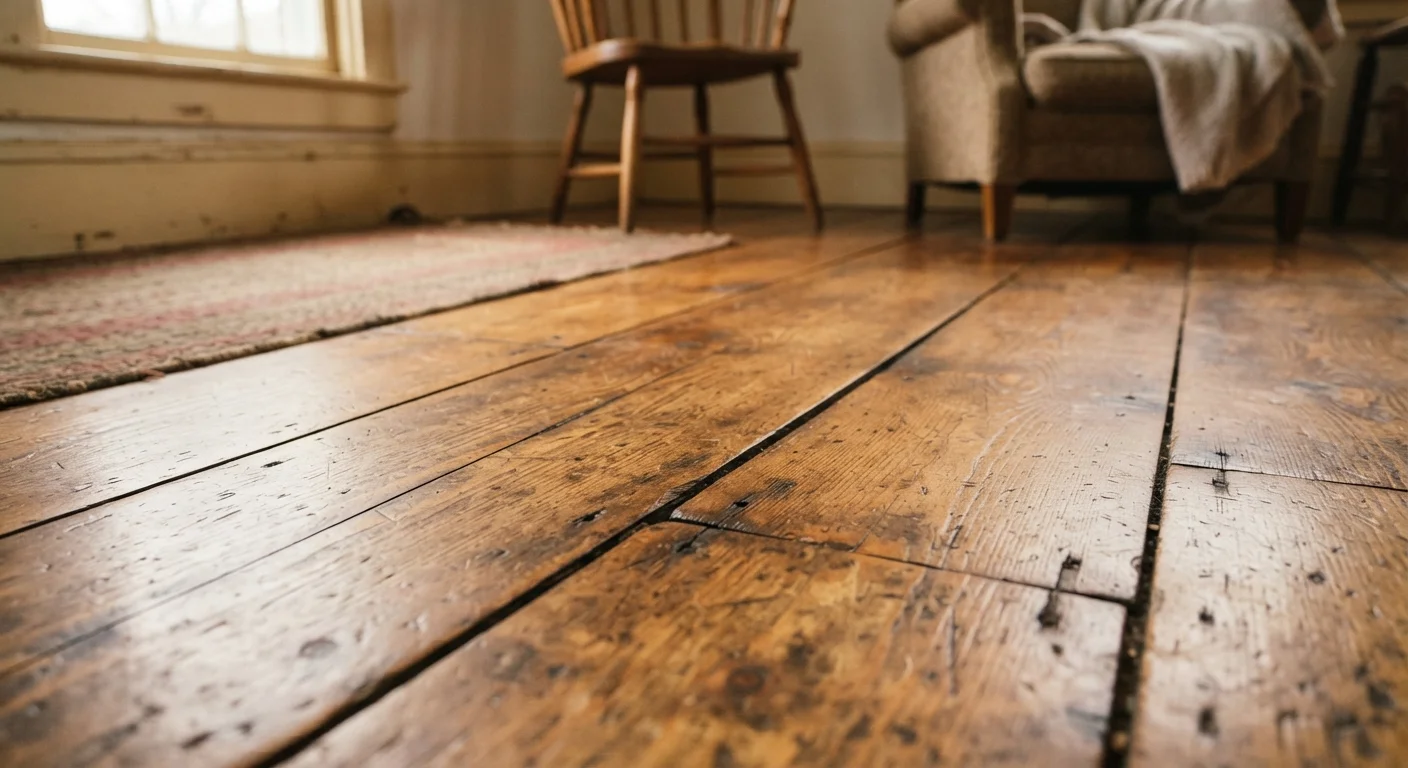
Why Floors Squeak: The Mechanics Behind the Noise
A squeaky floor almost always comes down to friction — wood or metal rubbing against something it shouldn't. Over time, fasteners loosen, wood dries and shrinks, and subfloor panels shift slightly. Each of these conditions creates the conditions for a squeak.
There are three main culprits to understand before you pick up a tool:
- Subfloor movement: Plywood or OSB (oriented strand board) subfloor panels can separate from the joists below, especially if they were fastened with nails rather than screws. When weight presses down, the panel flexes and rubs against the nail shank.
- Joist issues: Joists that are warped, cracked, or bridging against adjacent framing can create noise that travels up through the floor system and sounds like it's coming from somewhere else entirely.
- Flooring-layer friction: Hardwood boards rub against each other at their edges, or against staples and cleats used to fasten them. This is especially common in older strip hardwood floors.
Before you start any repair, identify which layer is the source. Repairs applied to the wrong layer will waste your time and may not silence the squeak at all.
The Two-Person Diagnosis Method
Many squeaks are nearly impossible to locate solo. Have one person walk the floor while the other listens from below or watches for flex from a crouched position at floor level. The watcher can often see the exact board or panel edge moving — information that's invisible to the person creating the noise. This simple two-person approach saves significant time before any tools come out.
Tools and Materials You'll Need
The right repair depends on your access point — from above the floor or below through a basement or crawl space. Gather what's appropriate for your situation before you begin.
Cordless drill/driver
Used to drive screws into the subfloor from above or below to eliminate movement.
Trim-head screws (1-5/8" to 3")
Longer screws pull the subfloor tight to joists; trim-head style minimizes surface damage on finished floors.
Stud finder
Locates joists beneath the subfloor so screws are driven into solid wood rather than open cavity.
Carpenter's chalk line or pencil
Marks joist locations across the floor surface so you can drive a consistent line of fasteners.
Powdered graphite or talcum powder
Lubricates tight seams between hardwood boards to stop surface-level rubbing squeaks without any cutting.
Wood shims
Wedged between a joist and subfloor from below to fill a gap causing the panel to flex and squeak.
Wood glue
Applied along a joist face or between shims to create a lasting bond that stops movement.
Putty or color-matched wood filler
Fills screw holes in finished hardwood after above-floor fastening to restore appearance.
What You'll Need Before You Start
Review these prerequisites to confirm you're ready to diagnose and address the squeak safely and effectively.
What you will need
Step-by-Step: Diagnosing and Fixing the Squeak
Work through these steps methodically. Diagnosis always comes before repair — skipping ahead to a fix without confirming the cause is the most common reason squeaks return.
Map the squeak precisely
Walk the squeaky area slowly and mark each spot that produces noise using painter's tape or a sticky note. Have a helper walk while you observe from a different angle — or from below if accessible. Note whether the squeak occurs under a specific step, across a wider zone, or only in certain directions of movement. This narrows whether the issue is a single loose fastener or a broader subfloor separation.
Check for seasonal causes first
Wood expands when humidity rises and contracts when air dries out. If the squeak appeared in winter after the heat came on, or during a dry summer, it may resolve on its own as conditions normalize. Maintain indoor relative humidity between 35–55% with a humidifier or dehumidifier. If the squeak disappears with humidity control, no structural repair is needed.
Try a surface lubricant (hardwood floors only)
If the squeak is between individual hardwood boards rather than in the subfloor below, a dry lubricant is the fastest fix. Sprinkle powdered graphite or talcum powder along the seam of the squeaky boards. Place a cloth over the area and work the powder into the joint by stepping on it repeatedly. This reduces friction between board edges without any fastening or cutting.
Locate the joists beneath the squeak
Use a stud finder to identify joist locations under the problem area. Most floor joists run perpendicular to the longest wall and are spaced 16 inches on center, though some older homes use 12-inch or 24-inch spacing. Mark each joist location with a pencil line extended along the floor. If you have access from below, you can confirm joist position by sight.
Fix from below when accessible
Basement or crawl space access gives you the best repair options. Have a helper stand on the squeaky spot while you look up from below. If you see a gap between the subfloor and joist, gently tap a wood shim coated with wood glue into the gap — do not force it, as over-driving a shim can raise the floor surface above. For larger gaps or when a shim won't hold, drive a 1-1/4" screw up through the joist into the subfloor, stopping well short of the finished floor surface to avoid breaking through.
Fix from above when below access is unavailable
Drive trim-head screws through the finished floor into the joist below. Angle the screw slightly to maximize grip. On hardwood, pre-drill a pilot hole to avoid splitting. Drive the screw just below the surface, then fill the hole with color-matched wood filler or putty and let it dry fully before sanding flush. On carpet, part the fibers, drive the screw, then use a coin to push the fibers back over the hole — it often becomes nearly invisible.
When to Call a Professional
Most squeaky floor repairs are well within reach of a confident DIYer. However, there are situations where the underlying problem goes beyond surface friction and warrants a closer look by a licensed contractor or structural inspector.
If you notice any of the following, stop your repair and consult a professional:
- Floors that bounce or feel springy underfoot — this can indicate a failing joist, notched beam, or compromised structural member.
- Squeaks accompanied by visible floor sagging or gaps opening between baseboards and the floor.
- Evidence of moisture damage or rot in the subfloor or joists when viewed from below.
- Squeaks in areas with in-floor radiant heat, where drilling or screwing incorrectly can damage tubing.
Structural work — including sistering joists, replacing subfloor panels, or addressing foundation-related movement — typically requires permits and licensed tradespeople in most jurisdictions. Always verify your local building code requirements before attempting any work that affects the structural system of your home.
Don't Ignore Structural Warning Signs
A squeak that's accompanied by visible floor deflection, a bouncy feel underfoot, or evidence of moisture damage in the joist bay is not a simple DIY lubricant-and-screw fix. These symptoms may indicate a compromised structural member. Consult a licensed contractor or structural engineer before attempting any repair in these cases.