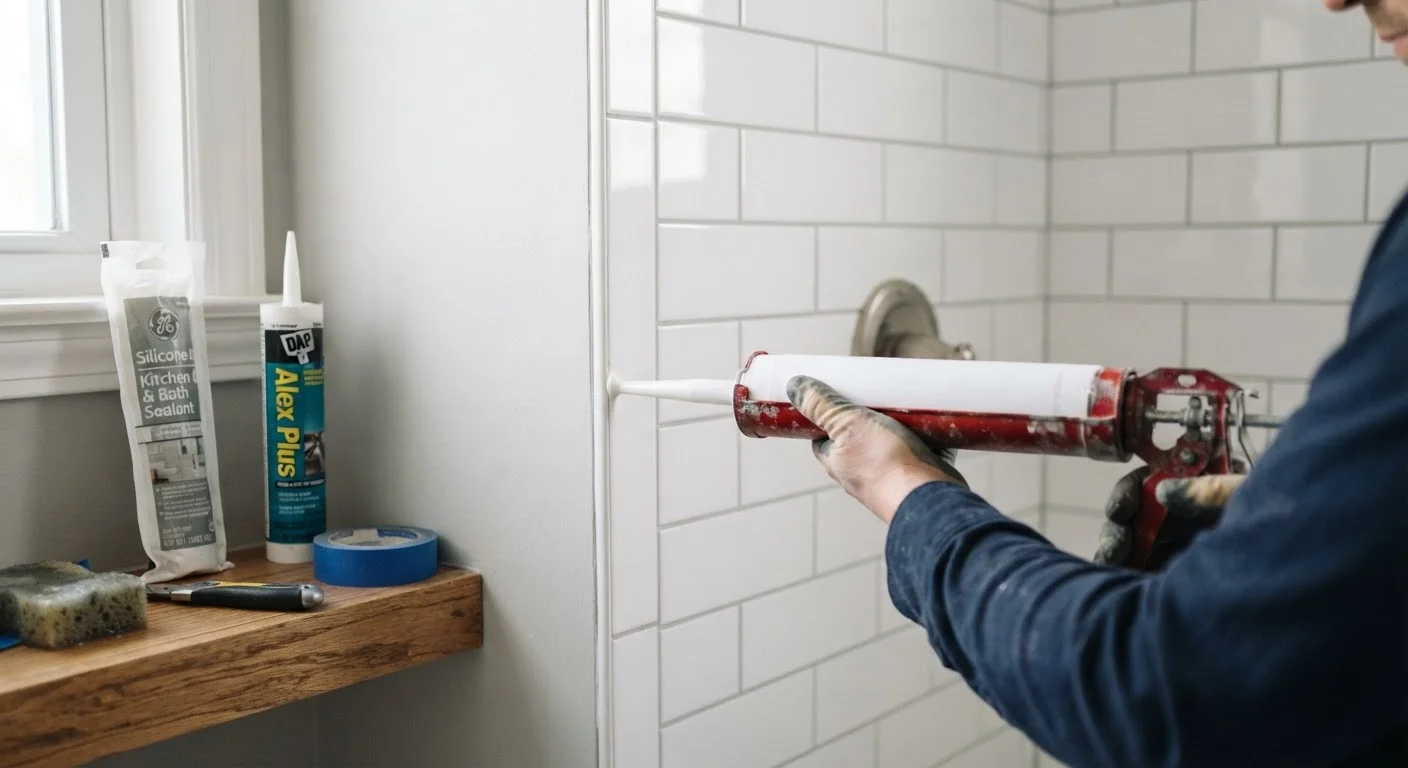
What's the Real Difference Between Caulk and Sealant?
Walk into any hardware store and you'll find tubes labeled both "caulk" and "sealant" sitting side by side. The terms get used interchangeably on job sites and in DIY tutorials, but they describe materials with meaningfully different properties — and choosing the wrong one can mean redoing the work in a year or less.
Caulk is a rigid compound, typically latex- or acrylic-based, that dries firm after application. It's designed to fill stationary gaps — joints that don't shift. Its biggest advantage is paintability: once dry, you can run a coat of latex paint right over it and it disappears into the surrounding surface. That makes it the go-to material for interior trim, baseboards, and crown molding.
Sealant, by contrast, remains flexible after curing. Silicone is the most common type, though hybrid formulations (silicone-latex blends) have grown popular because they offer some paintability while maintaining flexibility. Sealants are engineered to handle movement — thermal expansion, vibration, and the constant wet-dry cycling in bathrooms and kitchens — without cracking or separating from the substrate.
The short version: if the joint moves, gets wet, or lives outside, reach for sealant. If the gap is dry, interior, and needs paint, caulk is likely the better fit.
| Criterion | Caulk | Sealant |
|---|---|---|
| Flexibility after cure | Rigid | Flexible |
| Paintable | Yes (latex/acrylic) | Usually no (silicone); some hybrids yes |
| Water resistance | Low to moderate | High |
| Best surface types | Drywall, wood, plaster | Tile, glass, metal, masonry |
| Exterior use | Limited | Yes, UV-stable options available |
| Mold resistance | Low | High (especially silicone) |
| Typical cure time | 1–2 hours to paint | 24 hours before water exposure |
| Ideal locations | Baseboards, trim, interior frames | Tubs, showers, exterior joints |
Where Each Material Belongs in Your Home
Matching the material to the location is the most practical way to make the right call on the job site.
Where Caulk Works Best
- Interior trim: Gaps between baseboards and walls, around door and window casings, and along crown molding are classic caulk territory. The joint is small, stationary, and will be painted over.
- Drywall and plaster repairs: Small cracks and seams near trim work respond well to paintable caulk, which bridges gaps that joint compound might bridge poorly.
- Interior window frames: The seam between an interior window frame and drywall is dry and rarely moves — caulk seals it cleanly before painting.
Where Sealant Works Best
- Bathtubs and showers: The joint between a tub deck and tile wall flexes every time someone steps in or the hot water heats the materials. Only a flexible sealant can accommodate that without cracking.
- Kitchen sinks and countertops: Constant water exposure and the weight of the sink demand a waterproof, flexible seal.
- Exterior penetrations: Gaps around outdoor pipes, vents, or where siding meets trim need a UV-stable, weather-resistant sealant that expands and contracts with temperature swings.
- Glass, metal, and non-porous surfaces: Standard latex caulk bonds poorly to these substrates; silicone sealant grips them reliably.
Application Tips That Make Either Material Last
Even the right product will fail quickly if the surface isn't prepared properly. Follow these steps regardless of which material you're applying.
- Remove old material completely. Old caulk or sealant left in place prevents a fresh bond. Use a utility knife and caulk remover tool to clear the joint, then wipe away residue with isopropyl alcohol.
- Dry the surface thoroughly. Moisture trapped beneath caulk or sealant breaks the bond over time. In wet areas, allow at least 24 hours of dry time before applying new material.
- Cut the tube tip at a 45-degree angle. A small opening (about 3/16 inch for most household gaps) gives you better control than a large cut. You can always make the hole bigger, but you can't make it smaller.
- Apply steady, even pressure. Move the gun at a consistent pace — too fast and you'll miss sections, too slow and you'll glob. Pull the gun toward you rather than pushing for cleaner lines.
- Tool the bead immediately. Wet a fingertip or a caulk tool and smooth the bead before it begins to skin over. Most latex caulks skin within 5–10 minutes; silicone can give you a bit more time but not much.
- Respect cure times. Paintable caulk can often be painted after an hour or two, but allow a full 24 hours before exposing any sealant to water.
A Note on Hybrid Sealant-Caulk Products
Many products on store shelves are labeled as 'siliconized caulk' or 'paintable sealant.' These hybrid formulations blend acrylic or latex with a portion of silicone to offer improved flexibility and some water resistance while remaining paintable. They're a useful middle-ground option for areas like exterior window frames or kitchen backsplash tile that need both traits. Always read the product label to confirm whether a specific application — such as submerged water exposure or metal bonding — is listed as a supported use case.
Common Mistakes Homeowners Make
Understanding what goes wrong helps you avoid repeat trips to the hardware store.
Using caulk in a wet area: Latex caulk will absorb moisture, soften, and eventually pull away from tile or tub surrounds. Within months you may see mold growing behind what appears to be an intact seal. Always use a mold-resistant sealant rated for wet areas in bathrooms and kitchens.
Painting over silicone sealant: Standard silicone does not accept paint. If you apply latex paint over cured silicone, it will peel. If the joint needs to be painted, choose a paintable hybrid sealant or a paintable caulk specifically — and always check the label.
Skipping surface prep: Applying new material over old residue, soap scum, or dust is the single most common reason repairs fail prematurely. Preparation time is never wasted time.
Overfilling the gap: A thick bead doesn't bond better — it actually cures more slowly and is more likely to crack or sag. For gaps wider than half an inch, consider using a foam backer rod to fill depth before applying your top bead of sealant.